To do this, Microsofts Xbox Game Bar could come in handy.
But is it better than other alternatives or free from bugs?
Well, in this article, I will show you the quickest way to uninstall the Xbox Game Bar.
Just read till the end and uninstall your Xbox Game Bar within a minute.
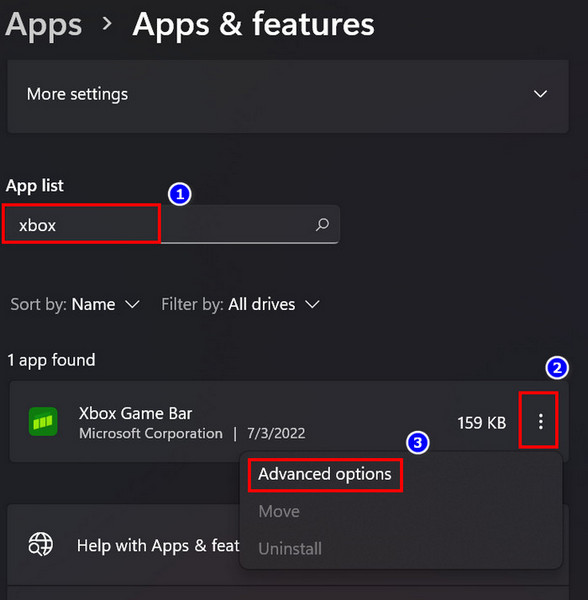
Uninstalling this gaming feature from Windows is an easygoing process.
To do this, apply the below steps.
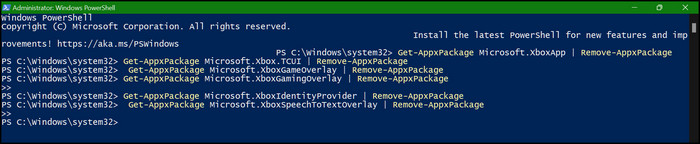
These Powershell command lines will uninstall all the services of this gaming feature.
Note:Do not exit from the Powershell until all the process is completed.
Read more on how toHard Reset Xbox Series X/S.
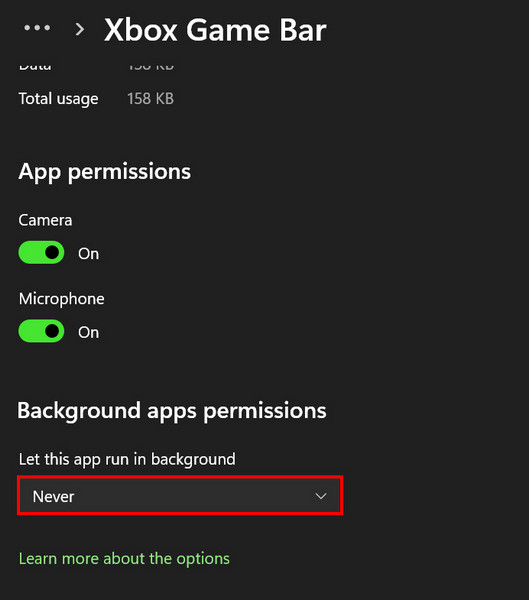
Besides, due to bugs, this gameplay recording tool sometimes causes problems.
Here are the methods to disable Xbox Game Bar on Windows 10 & 11:
1.
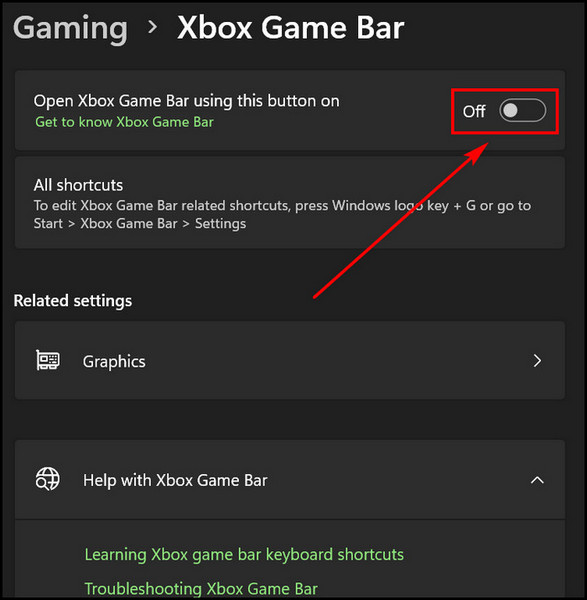
Disable Xbox Game Bar from parameters
you’re able to deactivate the Game Bar from the parameters.
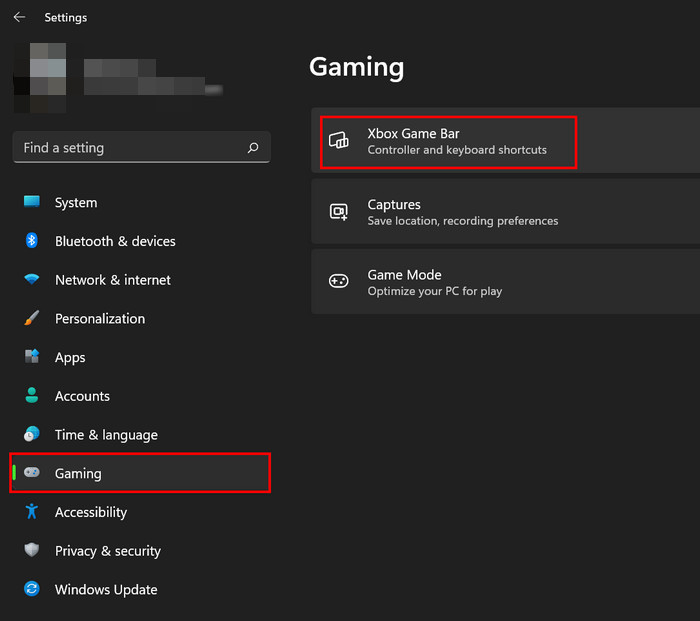
The process is quite the same for Windows 10 & 11.
Just follow the steps beneath to disable this gaming feature.
Now you’re able to play games without any issues, just in case this widget creates problems.
Also related: How ToFix Xbox Series X Wont Turn On.
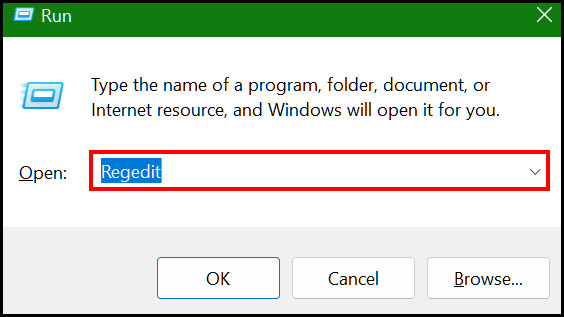
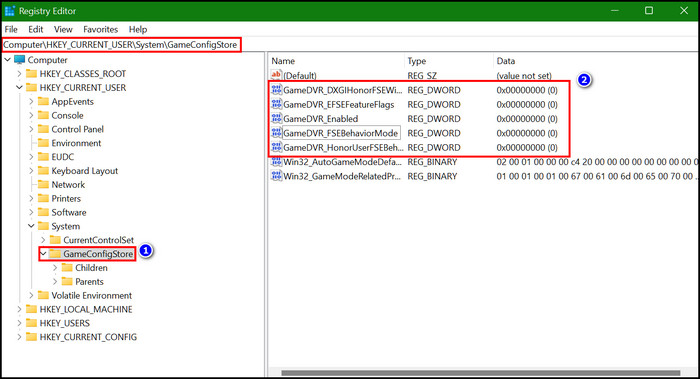
In the Registry values, 1 means enabled, and 0 means disabled.
Its pretty easy and doesnt require writing any command line codes.
All you’re gonna wanna do is change the values to 0.
FAQs
How can I uninstall Xbox Game Bar?
Launch the Powershell or CMD with admin privileges>TypeGet-AppxPackage Microsoft.XboxApp | Remove-AppxPackagecommand line>Hit Enter.
Does Xbox Game Bar cause low FPS?
Yes, the Xbox Game Bar causes low FPS.
It is a great widget that helps you capture the gameplay and take screenshots by clicking a button.

But with all those features, this enhanced game bar reduces the FPS by a large number.
Why cant I uninstall the Game Bar from Windows 10?
But you’ve got the option to uninstall this by using Powershell.
Microsoft is focusing more on the gaming performance on Windows 10 & 11.
But this feature is still causing lags though its not fully developed yet.
Thats why you might need to disable or uninstall this gaming feature on your Windows machine.
I hope you have effectively done that by following the methods in this article.
Let me know for further assistance by commenting.
See you at the next one!

