As we strive to optimize our workspaces, adapting to a setup that meets our specific needs becomes crucial.
But how exactly do you go about this process without damaging your equipment?
Weve got this comprehensive step-by-step walkthrough to ensure you could safely accomplish this task.
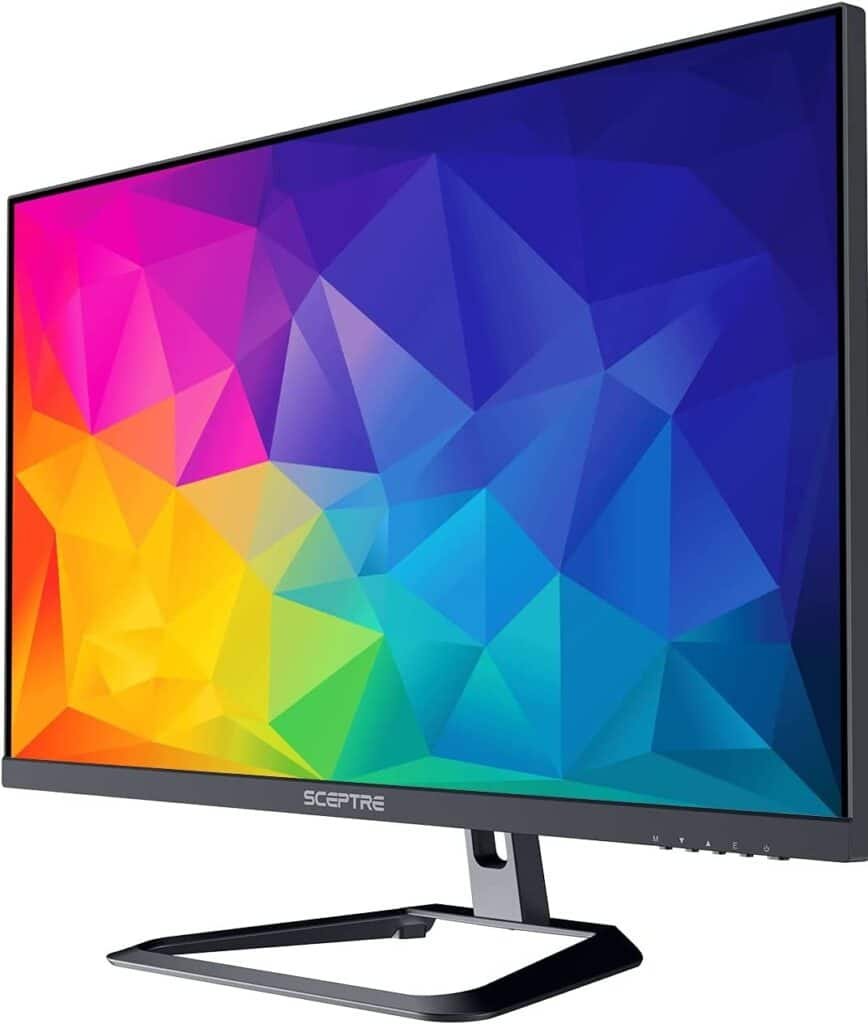
First and foremost is the LEDmonitor screen.
This is the central component where images and videos are displayed on the monitor surface.
Next up is thebase.

Connected to the base is thestand, sometimes referred to as the neck of adjustable monitors.
The stand extends up from the base and connects to the back of the screen.
Moreover, the stand may include a monitor cable management system to keep your workspace clutter-free.
Behind the screen, you will find a series ofconnectors.
Some monitors even have USB ports for additional connectivity options.
Finally, your Sceptre monitor may include anLEDlightusually found at the bottom right corner of the screens bezel.
Lets first discuss what youll need.
Remember to stay patient and work carefully to avoid any damage to your monitor during this process.
By following these steps, youll have your Sceptre monitor stand removed in no time.
Detach any other cables connected to the monitor (HDMI, DVI, DisplayPort, etc.).
Its essential to ensure that there are no live connections before starting the disassembly process.
Find the neck screws located at the back of your Sceptre monitor body.
These screws hold the original monitor base in place.
Youll need to use a Philips flathead screwdriver to carefully unscrew them.
Gently pull the base away from the monitor to ensure you dont damage any internal parts.
Youve now successfully disassembled your Sceptre monitor stand!
Best of luck with your monitor modifications!
Dont worry; reattaching the stand and cables is just as straightforward as removing them.
First, take the stand base and position it on your table or desk.
Look for the circular shape on the stand where the TVs neck will attach.
Now, hold the monitor at a 45-degree angle, and carefully insert the neck into the stand base.
ensure it sits flush and in the correct orientation.
Next, grab your Phillips screwdriver and the screws you removed earlier.
Attach the neck to the base by securing the screws in the designated holes.
Ensure the screws are tight, but be cautious not to overtighten them and risk damaging the monitor.
After reattaching the stand, its time to focus on the cables.
Start with the power supply cable and locate the power connector on the monitor.
Plug the power cable in, making sure its firmly in place.
Next, move on to your auxiliary cables, such as HDMI, DisplayPort, or VGA cables.
One by one, connect each cable to its designated port on the monitor.
Managing your cables also helps maintain a clean and professional workspace.
